In our quest to deliver a secured SQL Server 2008 R2 cluster solution, I will continue from my last post Part3 with the installation of SQL Server 2008 R2 SP1. Please note that when installing SQL server 2008 service pack in a cluster, this needs to be installed on the Passive node at any point in time. If this is installed on the Active node, then SQL will require a reboot thereby defeating the purpose of clustering.
Requirements:
- Download SQL Server 2008 R2 SP1
- Identify the Passive node
Setup Guide:
1. Identify the Passive node
- Log onto any of the SQL nodes -> Open command prompt -> Type ‘Cluster Group” and Enter.
Image may be NSFW.
Clik here to view.
Note: If the cluster groups are hosted between the two nodes, you need to run the command “cluster group “<Group Name>” /move” where <Group Name> is the name of each cluster group e.g “cluster group “Available Storage” /move“ to move the group named Available Storage to the second node.
- Type the command “cluster resource” and ensure all resources are online and owned by only one of the nodes.
Image may be NSFW.
Clik here to view.
At this point our Passive node is the server currently NOT hosting any of the cluster resources
2. Install SP1 on Passive node
- Double-click the SQL SP1 setup -> Wait for the system to extract the setup files
Image may be NSFW.
Clik here to view.
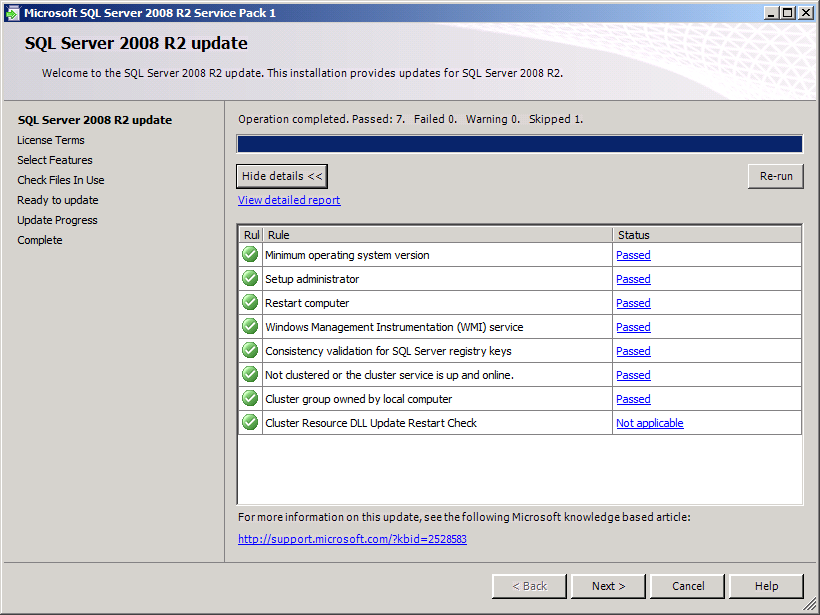
- On SQL Server 2008 R2 update -> click Show details -> Ensure that there are no warnings -> click Next
Image may be NSFW.
Clik here to view.
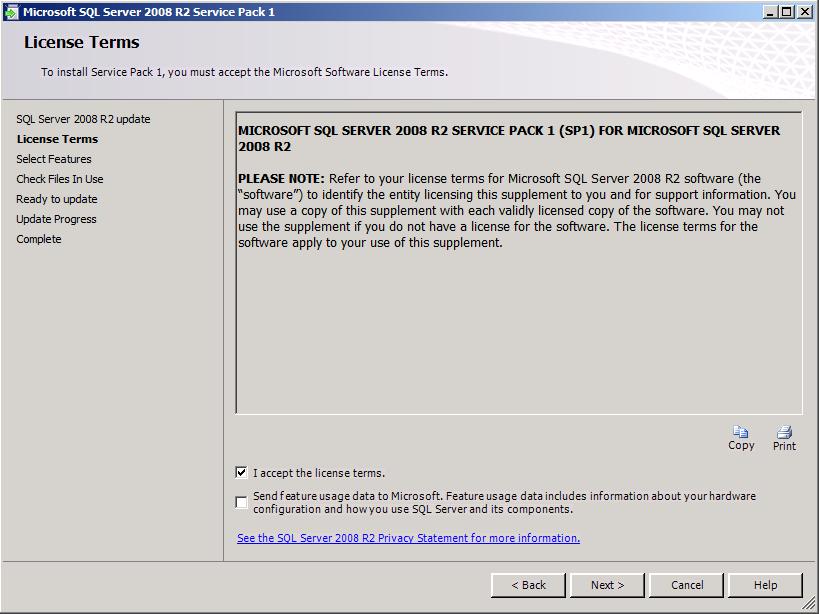
- Accept the License Terms -> click Next
Image may be NSFW.
Clik here to view.
- On Select Features page -> Select the Instance to be updated -> click Next
Image may be NSFW.
Clik here to view.
- The SQL checker will check for files currently locked -> click Next when check is completed
Image may be NSFW.
Clik here to view.
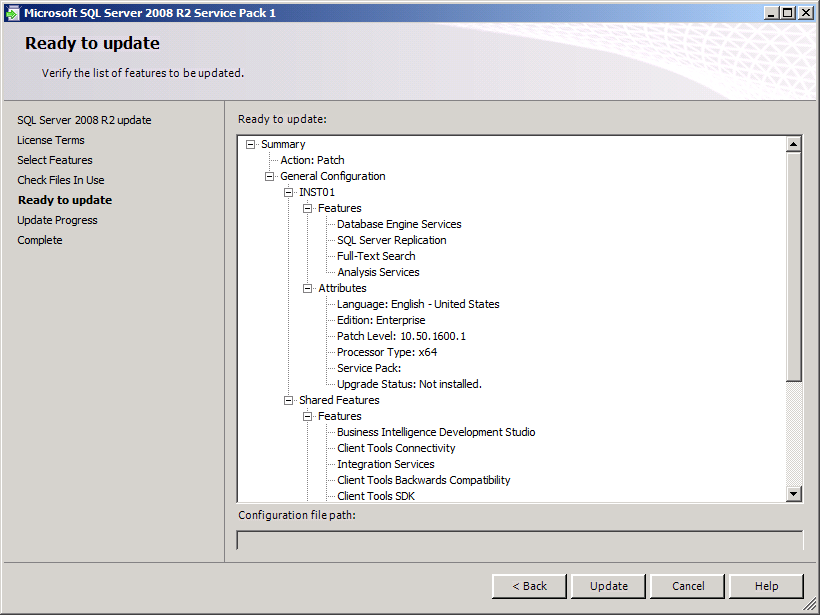
- You are now ready to update SQL -> click Update
Image may be NSFW.
Clik here to view.
- Monitor the Update Progress while SQL updates the selected instance
Image may be NSFW.
Clik here to view.
- After Update is completed -> click Close
Image may be NSFW.
Clik here to view.
At this stage, we need to apply the SQL service pack on the second node which is currently holding all the cluster resources. The next action is to failover all the cluster groups to the passive node which we just updated with SP1 using the commands shown below:
- cluster group “Cluster Group” /move
- cluster group “Available Storage” /move
- cluster group “SQL Server (INST01)” /move
- cluster group “SYS01MSDTC” /move
When all groups have been moved over to the other node and you have verified all the resources using the command ‘cluster res‘, follow the above steps to install the service pack on the second node which is now the passive node so both servers are running the same service pack. When the second node had been updated, test the failover several times using the above commands to ensure that your failover clustering is working as expected.
Next Step:
- SQL Server 2008 R2 Post Configuration Guide, SQL Optimization and SQL Best Practice (Click Here)